The 18-hole
experience.

Course Overview
Enjoy your round at Limassol Greens — a course designed to challenge and inspire in equal measure. The opening stretch features the first five holes playing into the prevailing wind. While the layout may appear generous, strategically positioned bunkers and subtle green shaping demand accuracy and thoughtful shot-making to keep your scorecard intact.
From Hole 6 through Hole 11, the wind turns to your back, offering scoring opportunities for those who capitalise on favourable conditions. Then comes a distinctive trio — Holes 13 to 15 — each offering a unique test that will require a full range of shot-making creativity to master.
The final stretch, however, is where champions are defined. Hole 16, a tough Par 5 played back into the wind, leads to a small, well-defended green that rewards precise distance control. The Par 3 17th demands pinpoint accuracy, with little margin for error left or right. Finally, the 18th sweeps elegantly from left to right around a natural lake before revealing a narrow, elongated green — one of the longest on the course. Selecting the right club and striking it with confidence is essential to finish strong.
No matter your score, you’ll walk off the 18th with a sense of pride and satisfaction. Return your buggy at the drop-off area and head to The Roost, where well-earned food and drinks await — the perfect way to celebrate your Limassol Greens experience.
Golf Holes
Hole 1
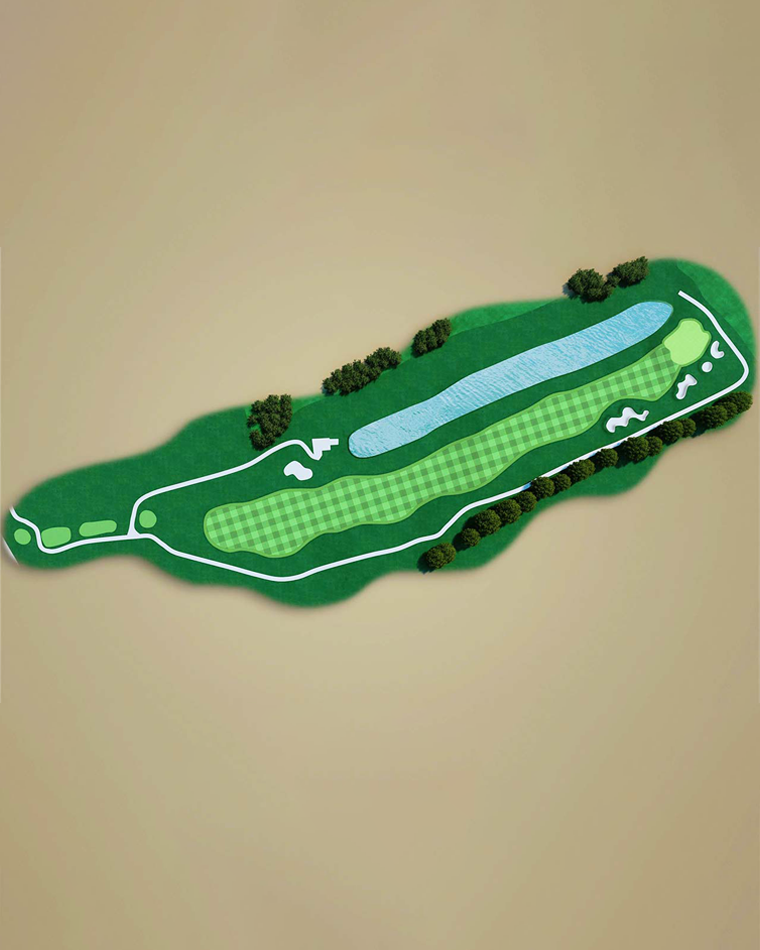
Open your shoulders and get ready for the first true challenge. This lengthy Par 5 invites a confident drive into a generous landing zone, though the bunkers to the left are well placed to catch any wayward tee shot.
Usually playing into the prevailing wind, the second shot demands respect, with the irrigation lake stretching some 250 metres along the left side and all the way up to the green. Avoid it at all costs and set yourself up for a controlled approach into a large, relatively flat green — a rewarding start for those who play it smart.
Hole 2
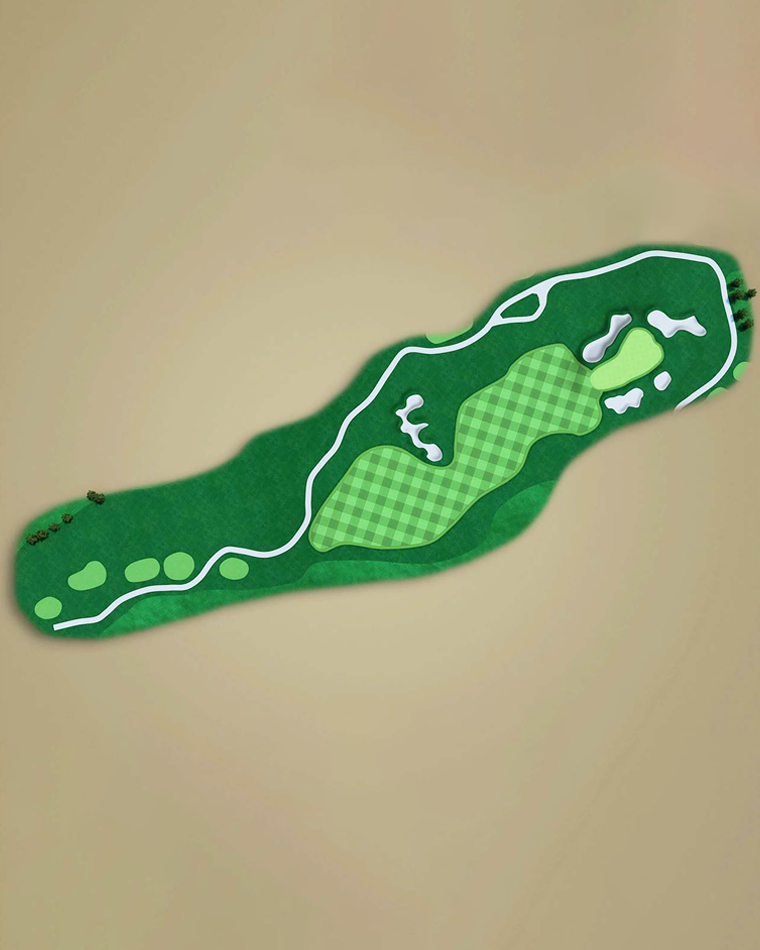
A medium-length Par 4 offering a generous landing area from the tee. Choose your target carefully to avoid the large bunker that dominates the left side of the fairway, positioned around the 200-metre mark.
The approach demands thoughtful club selection into a green that slopes subtly towards you, with a few hidden breaks ready to test your putting touch.
Hole 3
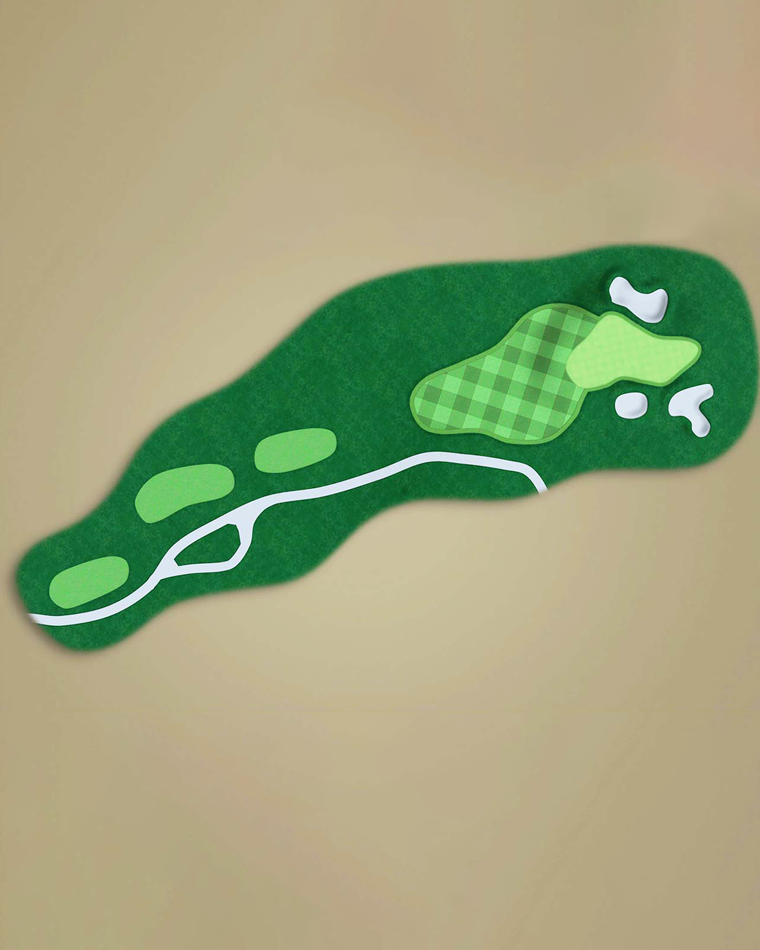
A deceptively simple Par 3 that plays trickier than it appears. When the breeze picks up, it can quickly cast doubt on your club selection. The front of the green is hidden from view, obscuring the base of the flag and creating the illusion that the hole is closer than it really is — a classic test of distance control and confidence.
Hole 4
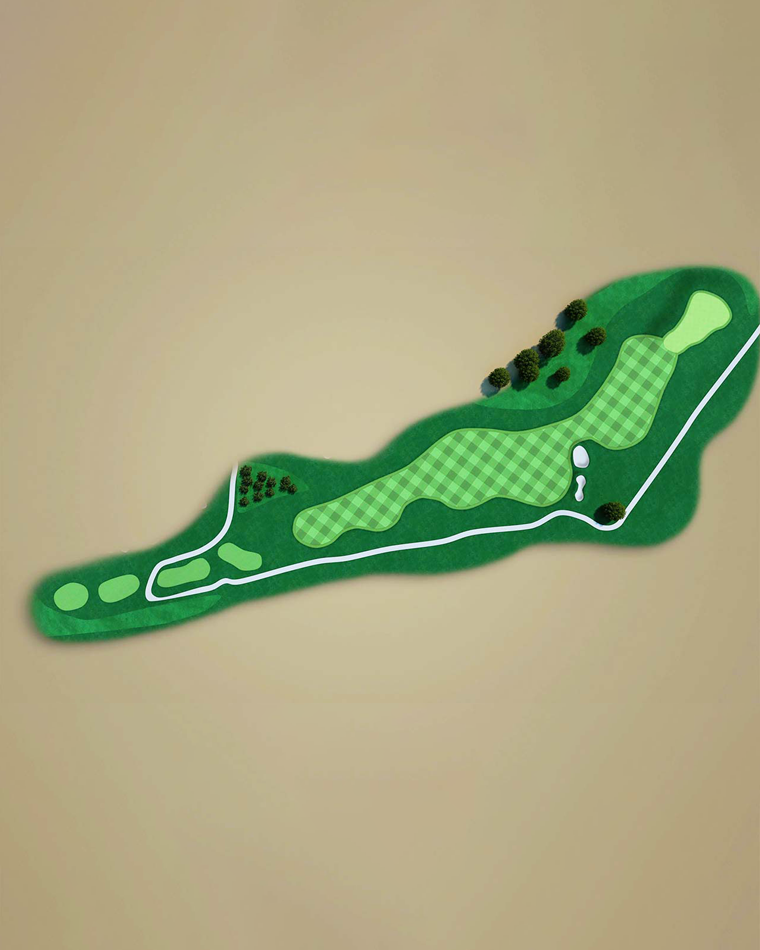
A mid-to-long Par 4 that rewards precision from the tee. Aim toward the left fairway bunker for the ideal line — but beware, a drive too far right of the cart path flirts with out of bounds, and could have you reaching for a second ball.
From the fairway, the hole turns gently left to a stadium-style green, framed without bunkers but designed to feed approach shots naturally toward the putting surface. After holing out, take a moment to refresh at the comfort and water station conveniently located just beyond the green.
Hole 5
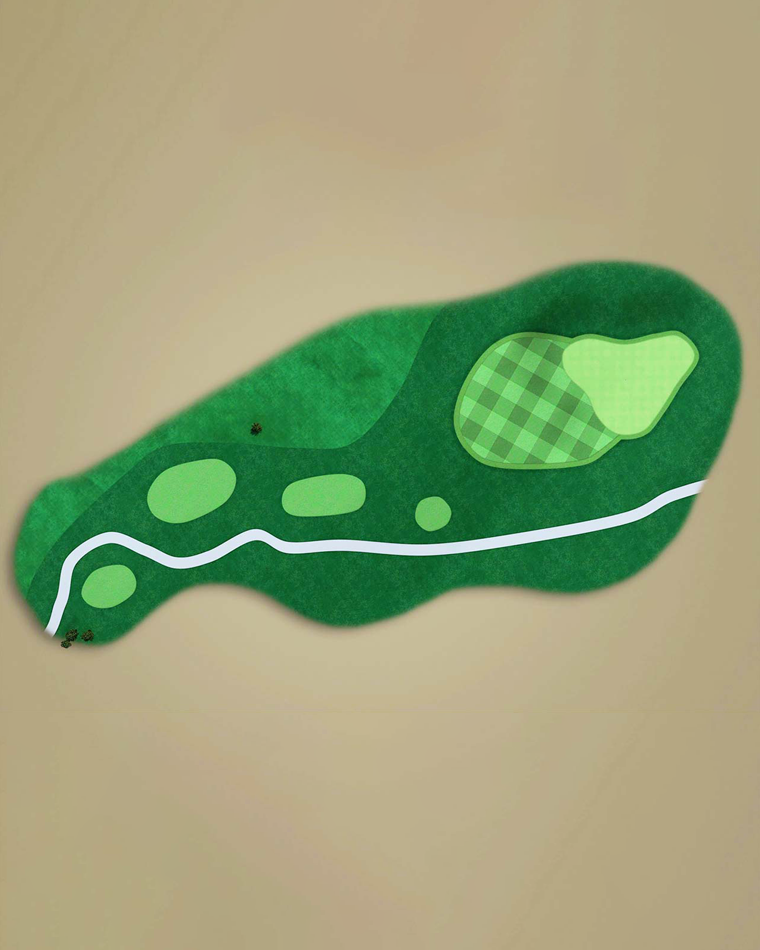
A seemingly straightforward Par 3, bordered by the forest along the left and notably the only hole on the course without a bunker. Accuracy from the tee is essential here — anything leaking left or right will catch the surrounding slopes, leaving a tricky chip and a testing chance to save par.
Hole 6
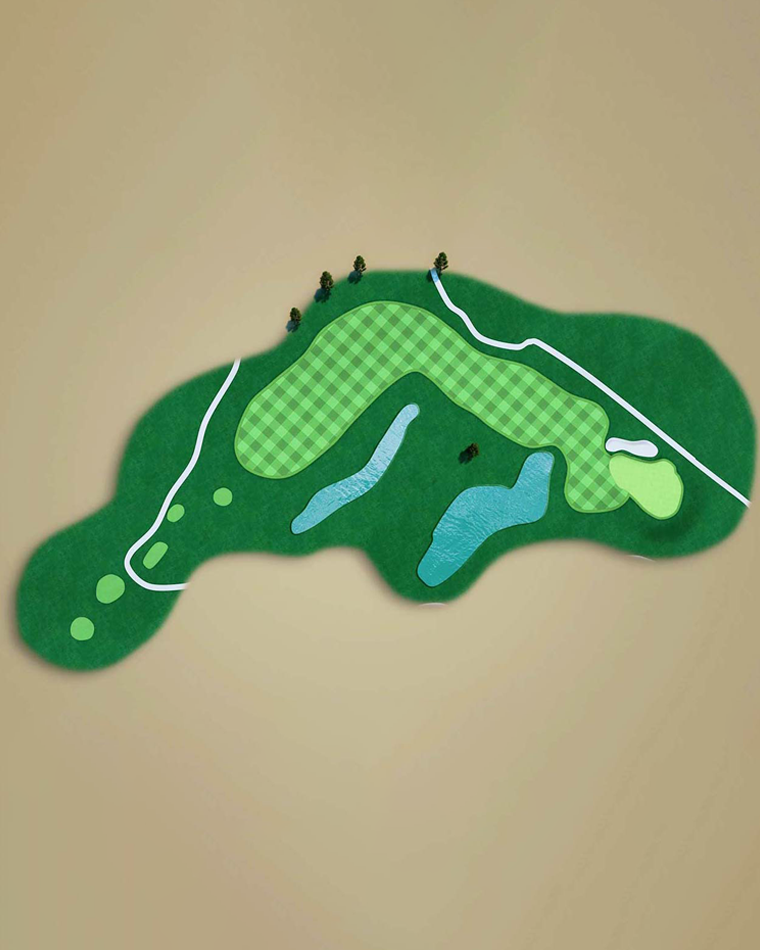
A beautifully shaped Par 4 that sweeps gracefully from left to right through one of the most tranquil parts of the course. Take a moment to appreciate the natural surroundings — or to steady your focus before the challenge ahead.
With the prevailing wind favouring a gentle fade, accuracy from the tee is key as you navigate between two natural lakes. For the big hitters, there’s a bold tiger line between the waters, offering the reward of a short approach to the green. Once on the putting surface, subtle slopes demand a keen eye and a confident read to finish the hole well.
Hole 7
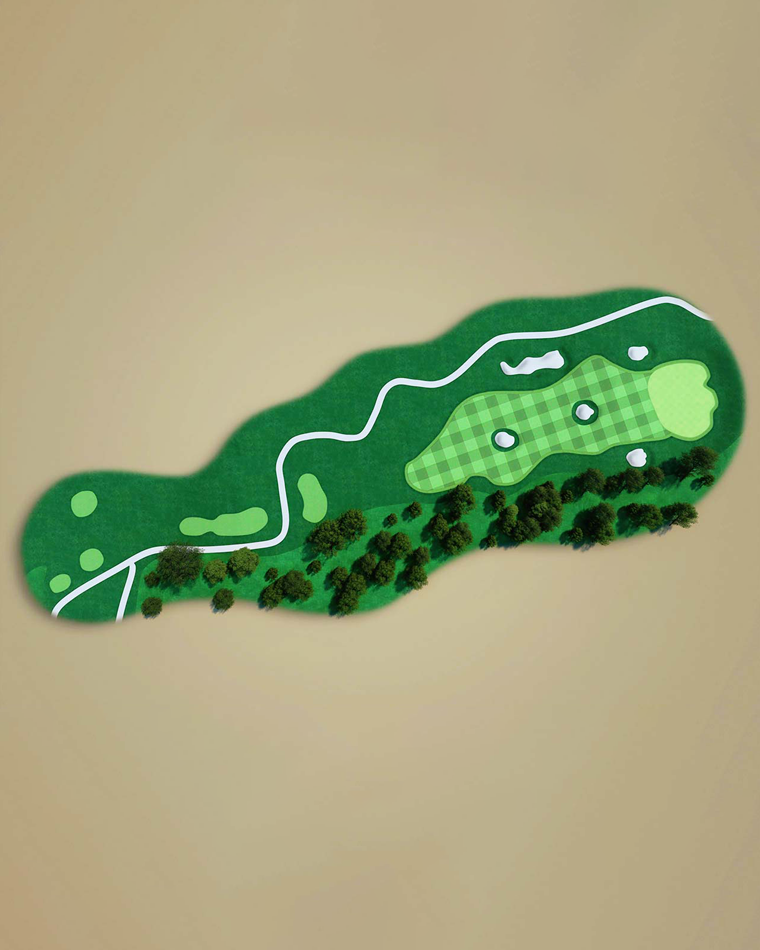
After a scenic walk along the edge of the forest, you arrive at this charming short Par 4. For the big hitters, it offers a tempting risk-reward opportunity — but with two strategically placed bunkers guarding the centre of the fairway, success depends on smart club selection and precise positioning. Play it with strategy and touch, and a birdie chance is well within reach.
Hole 8
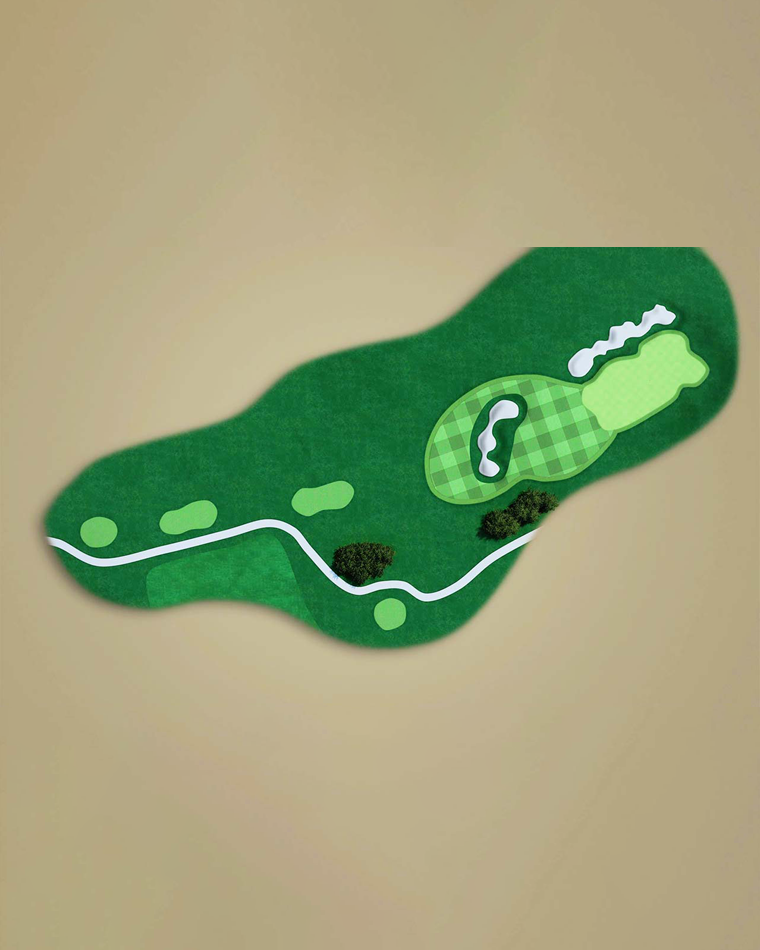
A commanding Par 3 that plays longer than it appears. The expansive green invites confidence, yet the deceptive bunker positioned 50 metres short of the putting surface challenges your perception and club selection. What looks like a straightforward shot often proves anything but — a true test of judgment and precision.
Hole 9
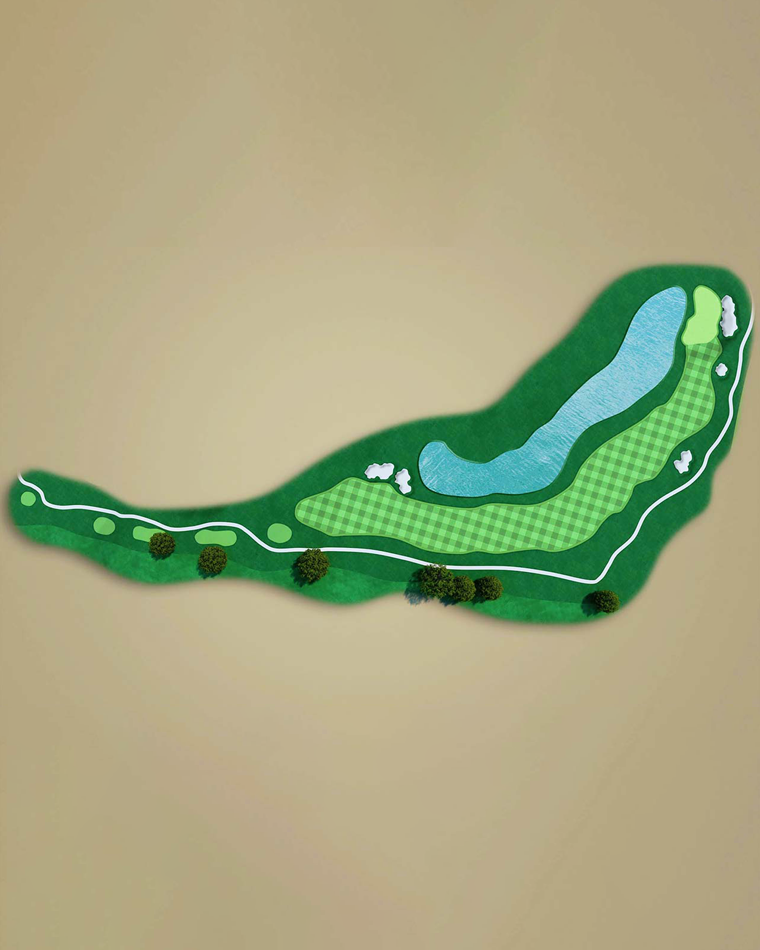
From the back tee, this majestic Par 5 is among the longest you’ll ever play. Framed by the forest to the right and sweeping gracefully left around the largest lake on the estate, it plays back toward the shimmering city skyline.
Aiming toward one of the tall city buildings will guide you to the heart of the fairway. The second shot — a confident layup across the lake’s corner — rewards precision and strategy in equal measure. Yet the challenge doesn’t end there: water guards the left side of the green, ready to gather any approach that strays from its line.
As you complete the hole, the path leads naturally to the halfway house — the ideal place to pause, refresh, and take in the panoramic views. With its sweeping curves and water-lined fairway, this spectacular hole offers a true photo moment and, for most, a memorable three-shot Par 5.
Hole 10
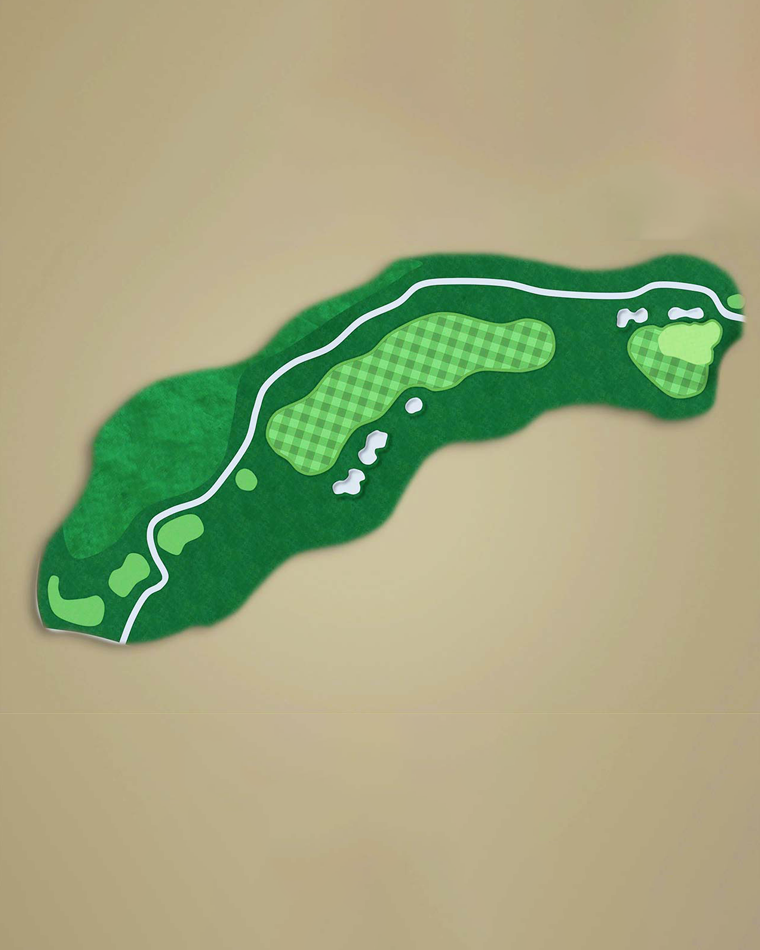
A compelling Par 4 where a long, accurate tee shot opens the opportunity to carry the large swale in front of a well-protected green. Anything slightly short off the tee may require a strategic layup, effectively turning the hole into a Par 5.
The green is guarded by bunkers on the left, while those going long risk finding the water beyond. A subtle ridge runs through the middle of the putting surface, so identifying the correct half of the green is key — otherwise a delicate putt may await to save par.
Hole 11
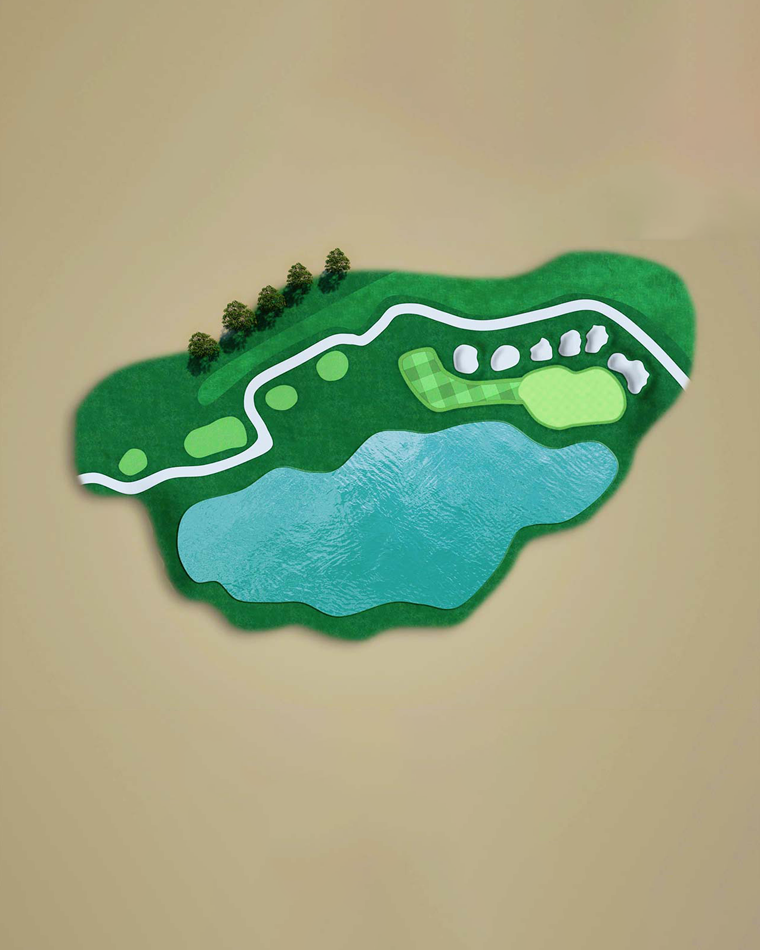
The perfect Par 3 — medium to short in length, yet full of challenges. Water guards the right, a row of bunkers lies to the left, and a large bunker awaits any shot that goes long. Missing the green can quickly turn a par into a real test, demanding precision, focus, and execution for the perfect shot.
Hole 12
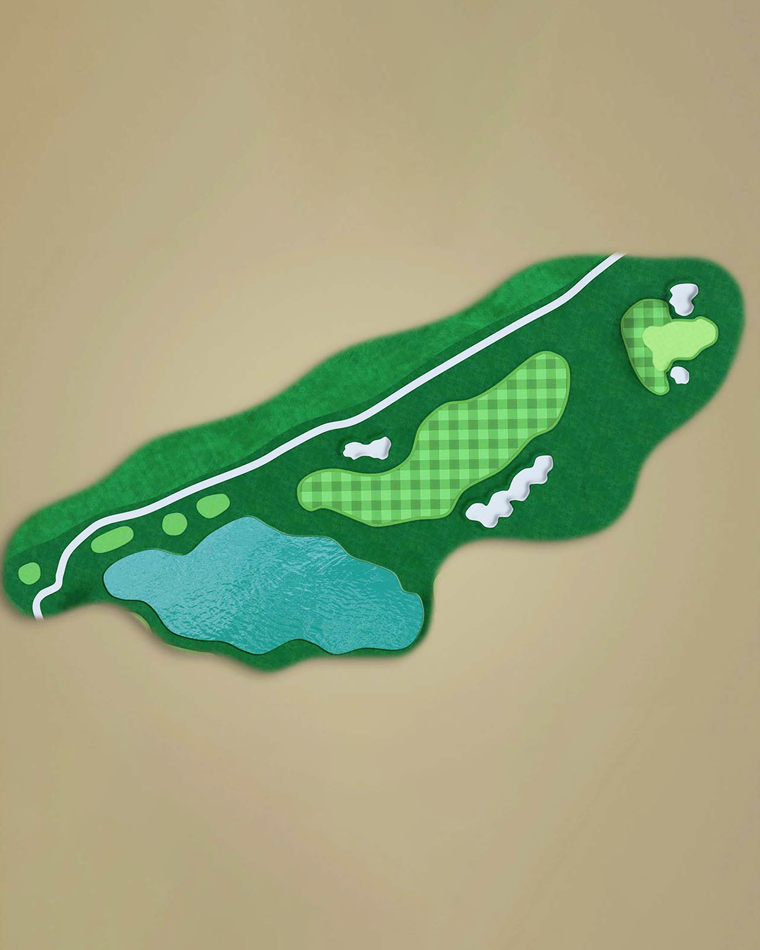
Turning back into the wind, this beautifully shaped Par 4 demands an accurate tee shot, with water in play for anything slightly short or right. The fairway is well protected by bunkers — carry the left bunker and you’ll find a generous landing zone beyond.
The approach plays back over the swale, where anything short risks rolling into the penalty area. Choose your club wisely and aim for the heart of the green to set up a rewarding finish.
Hole 13
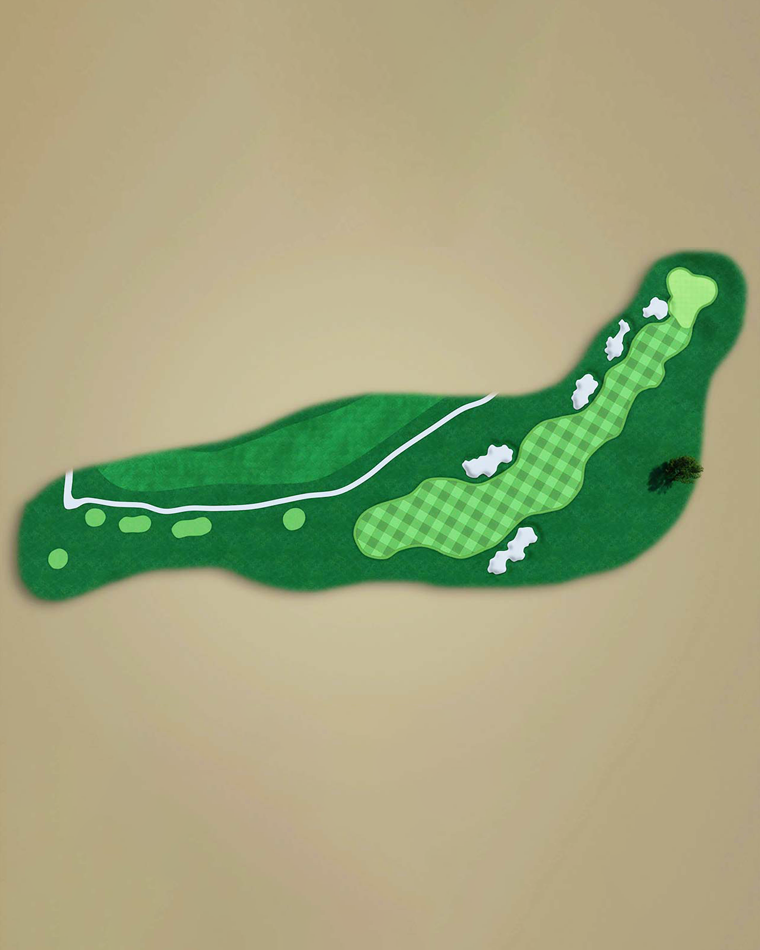
Rated as stroke index 1. A challenging dogleg Par 4, this hole demands both strategy and precision. Out of bounds lines the entire left, while a natural lake guards the right. The ideal tee shot threads between the fairway bunkers to reach the perfect landing zone.
The elevated green is a small target for a short- to mid-iron approach. A deep bunker front left is ready to catch anything off-line, while the sloping surrounds punish inaccurate approaches, making precision essential for a par.
Hole 14
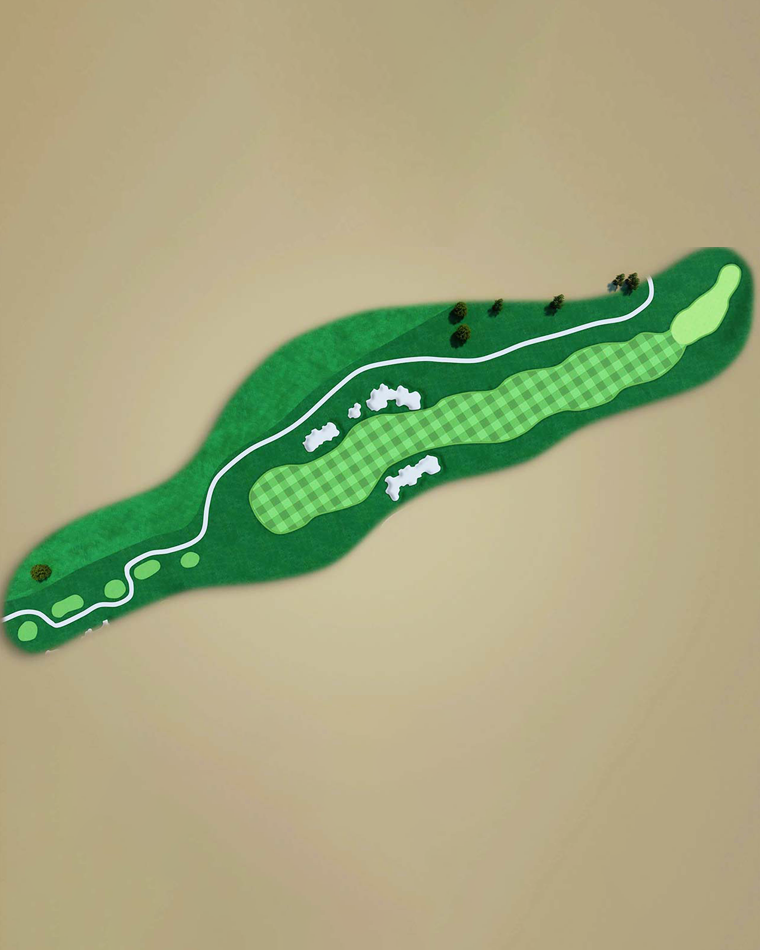
A moment of relief greets you on this relatively short, straight Par 5. Fairway bunkers left and right demand accuracy from the tee, rewarding thoughtful placement over sheer distance.
For longer hitters, the challenge shifts to the approach: the green slopes away from view, protected by grassy hollows, and stretches more than 50 metres from front to back. With its unique shape, you may be facing one of your longest putts ever, making precise club selection and a confident strike essential for a strong finish.
Hole 15
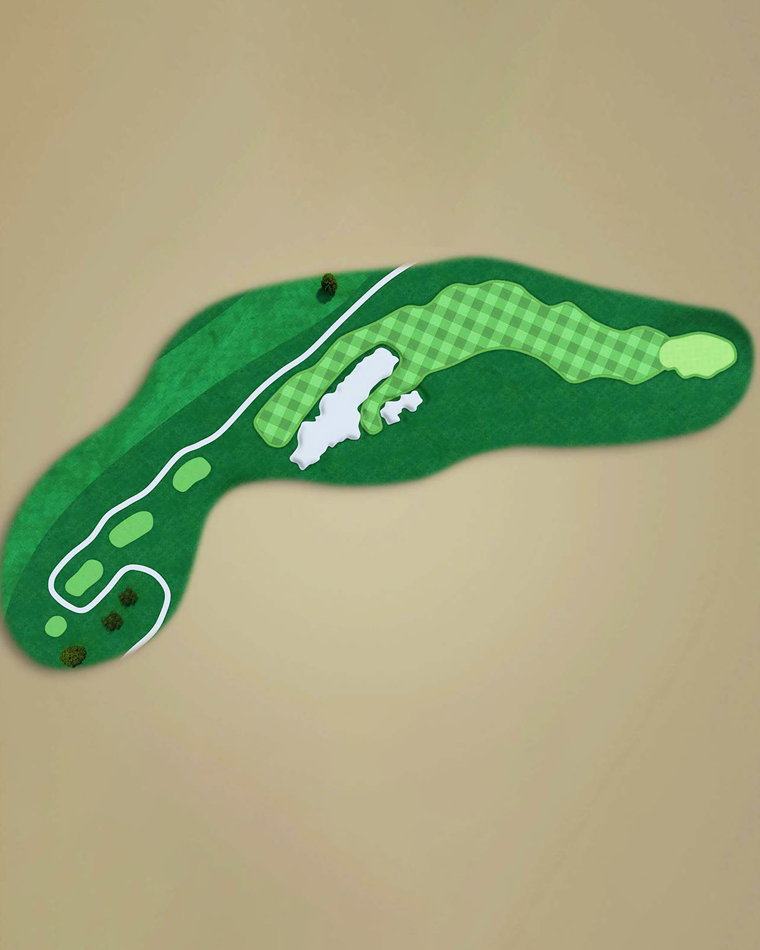
From the tee of this medium-length Par 4, your eye is immediately drawn to the huge fairway bunker directly in your line. There is no easy escape — only a narrow passage left or right — demanding a perfectly struck tee shot to carry.
Once past the bunkers, the hole swings gently right, opening to a stadium-style green. A comfort station awaits at the green, the perfect spot to refill your water and prepare for the final push to the 18th.
Hole 16
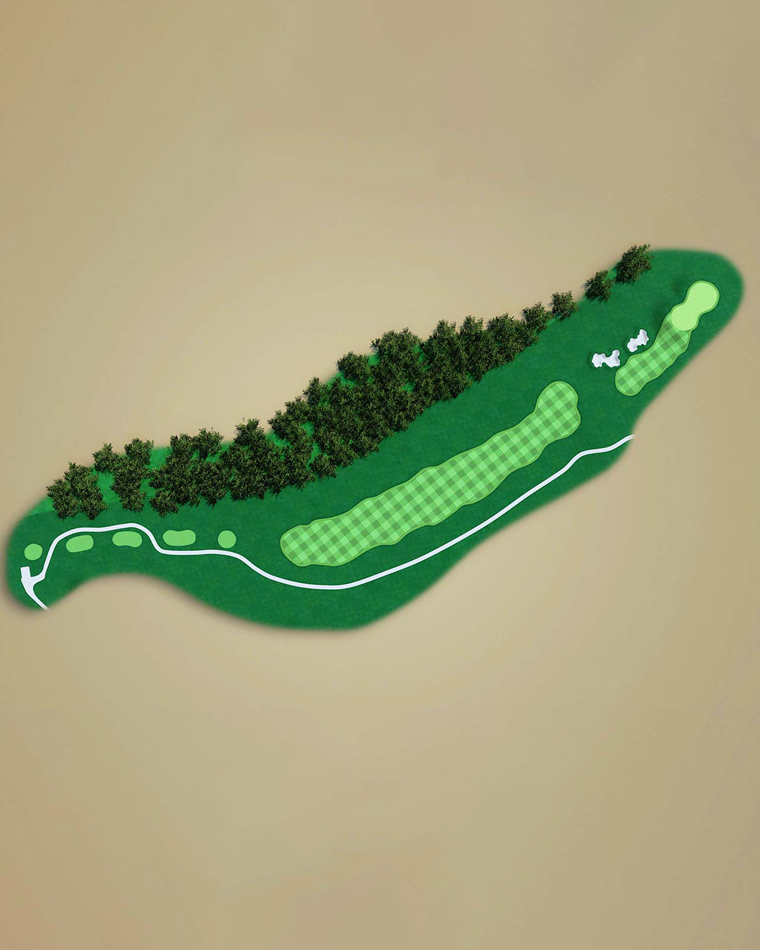
A wide-open start to this Par 5, usually played back into the prevailing wind. The entire hole is flanked on the left by a natural swale, so careful target selection from the tee is essential to find the generous fairway.
For the second shot, most golfers will lay up to the end of the split fairway, leaving a short iron to the elevated green, which sits out of sight and is protected by bunkers short left. Make par here and take a well-earned sigh of relief.
Hole 17
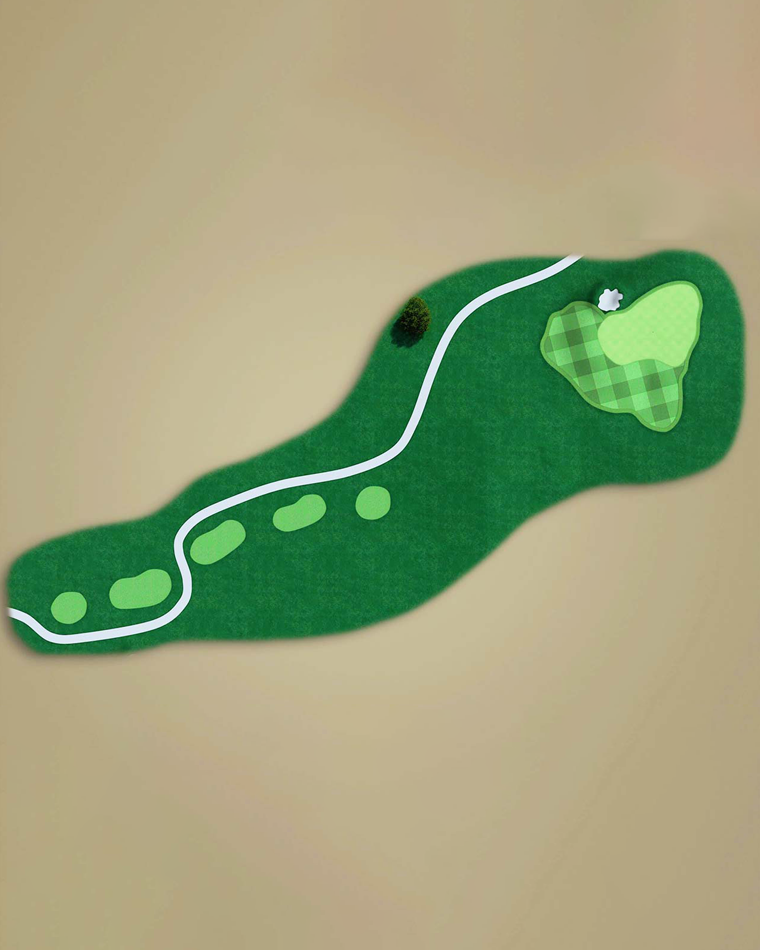
A challenging Par 3 played back into the wind, with a narrow entrance to the green. A small bunker on the left guards the putting surface, while missing the green on either side risks the ball rolling far down the slopes, leaving a blind pitch back up to the green. Precision and focus are essential to navigate this test successfully.
Hole 18
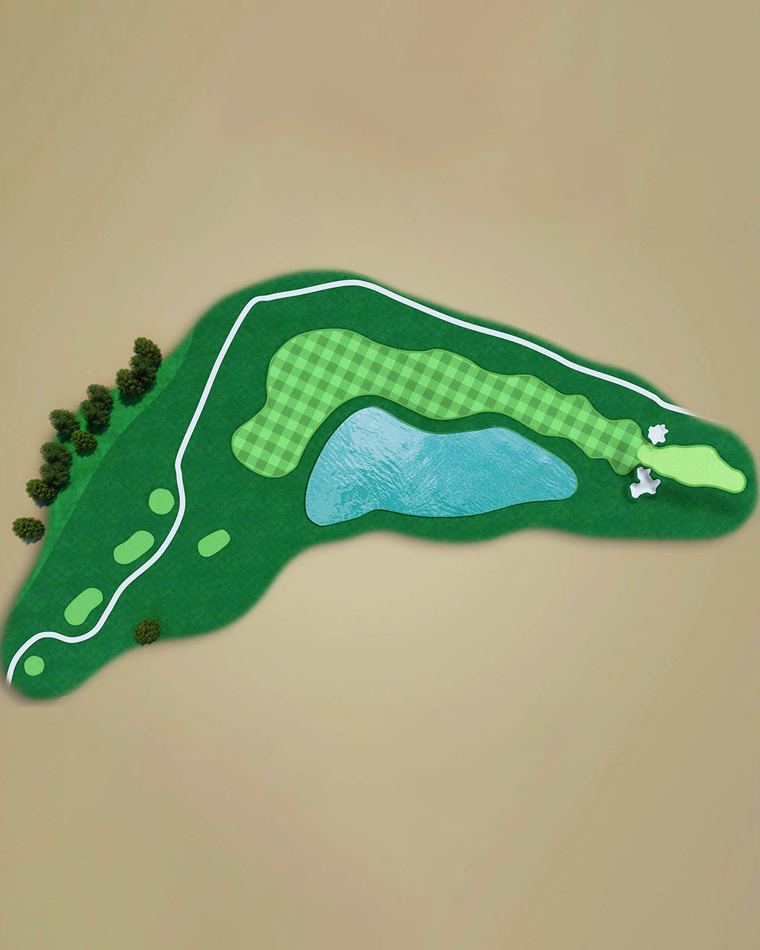
A dogleg left-to-right Par 4 that sweeps around the natural lake. A brave tee shot tight to the water rewards a shorter approach to the long, narrow green, protected by bunkers left and right.
Be mindful that the hole to the right of the lake (Hole 13) is out of bounds, so there’s no shortcut to the green. Long hitters have a risk-reward opportunity: a daring line over the corner of the lake requires a 200+ metre carry, but the reward is a short iron into the green. Putt out for your par and head to the Roost for the well-earned rest and recouperation.